If you’re migrating to our email services there are some steps you will need to take to help this process along.
Before Migration
Before migrating, you will need to change some of your account settings. It’s best to make sure these steps are done from your primary computer.
If you’re using webmail, to ensure the best compatibility, you should download any folders to your local machine. We recommend doing this as not all webmail services are compatible with our email migration tools.
POP3 users must ensure they uncheck “leave a copy of my email on the server” options as emails may be duplicated otherwise. Each email client is different but the option should be in one of the advanced areas of account management. Outlook, for example, can be found under “Account Settings > Change your account > more settings > advanced” and on a Mac, it can be found at “Mail > Preferences > Accounts > highlight the account > Advanced”
After Migration
POP3 users can return their “leave a copy of my email on the server” to their original settings.
If you wish to switch to IMAP from POP3 we recommend creating a brand new IMAP account, and copying emails to the IMAP account by dragging and dropping.
Emails can be lost if the POP3 account is deleted before moving messages. For added security, you may wish to backup your current emails first.
Troubleshooting
The migration can take up to 12 hours to work, during this time email shouldn’t be lost. If you’re having trouble connecting please make sure at least 12 hours has passed since the migration started before changing the configuration. While editing these settings ensure that you do not delete the account, some or all of your email may be lost.
Also at any point in time, you may log in your webmail at https://provisionmail.net to check your email.
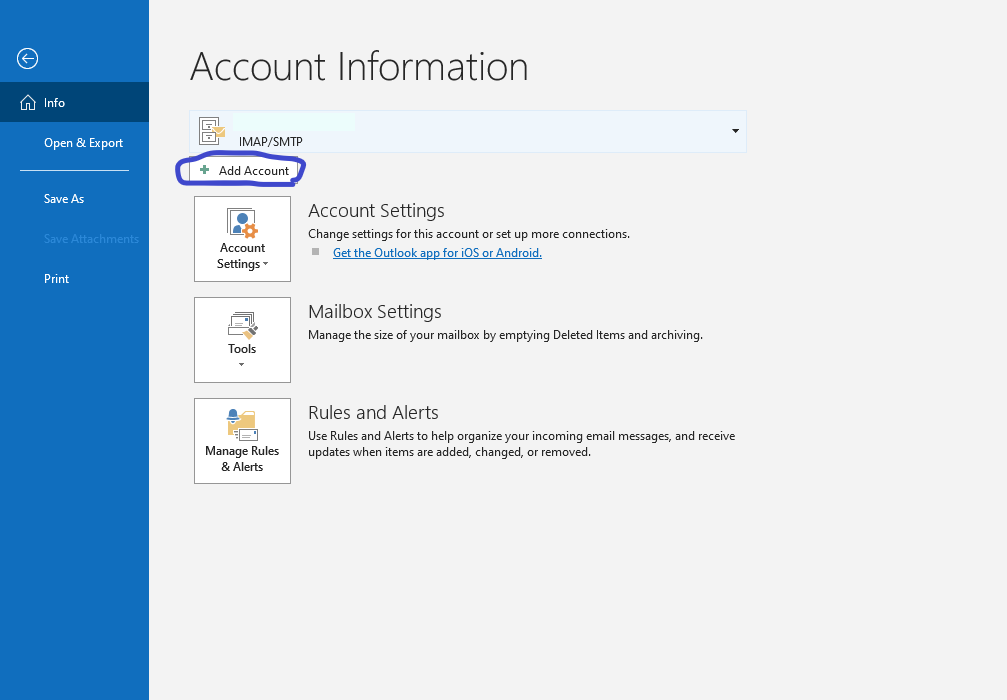
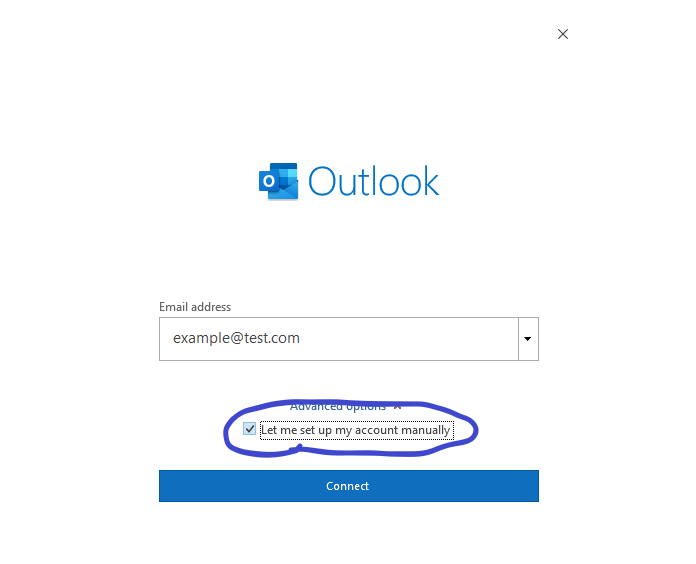
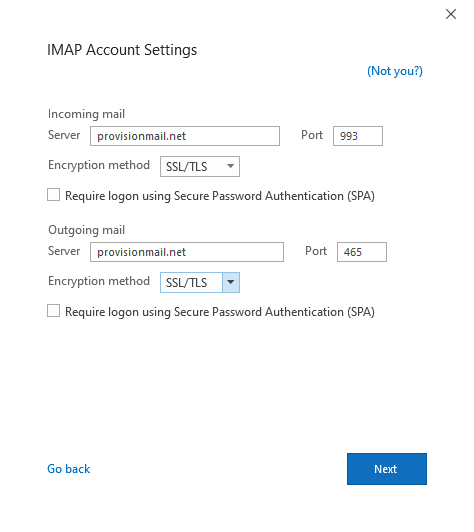
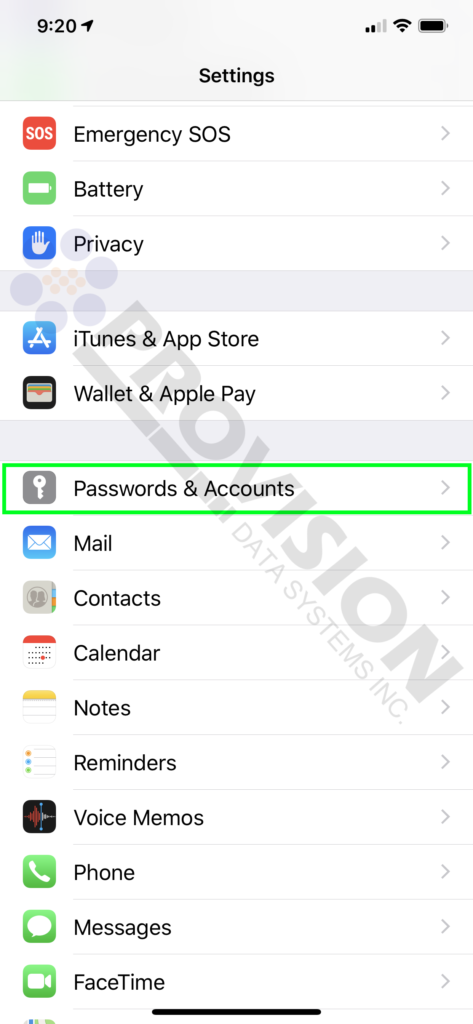
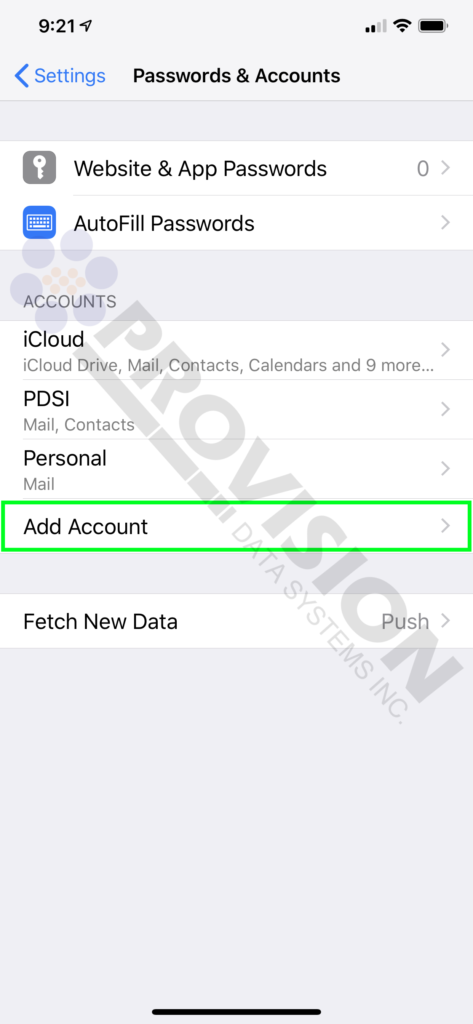
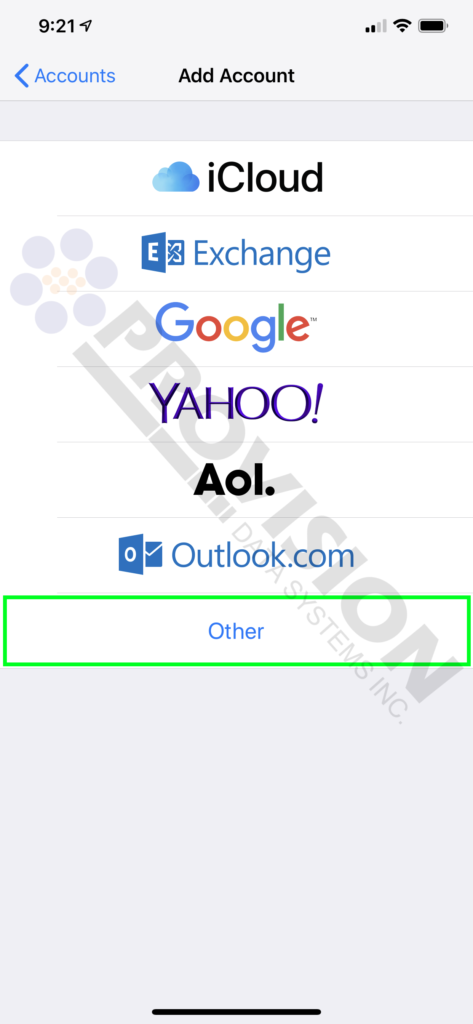
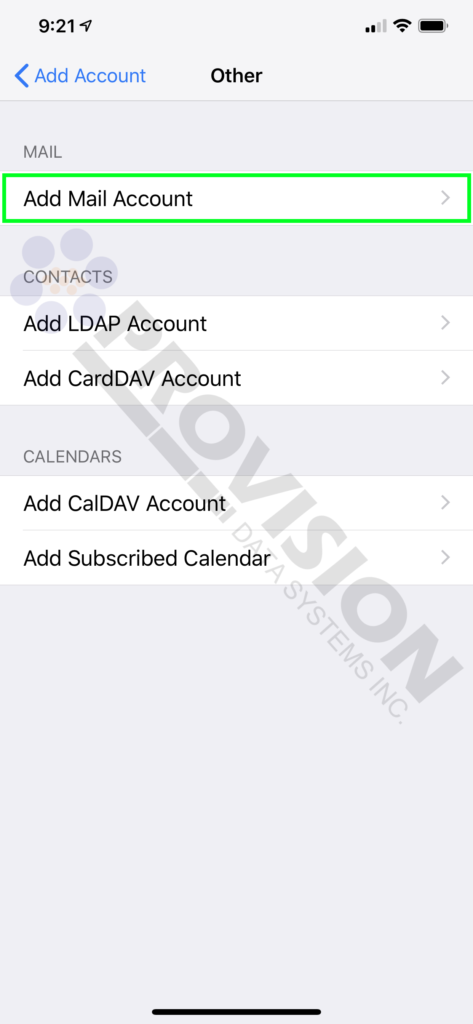
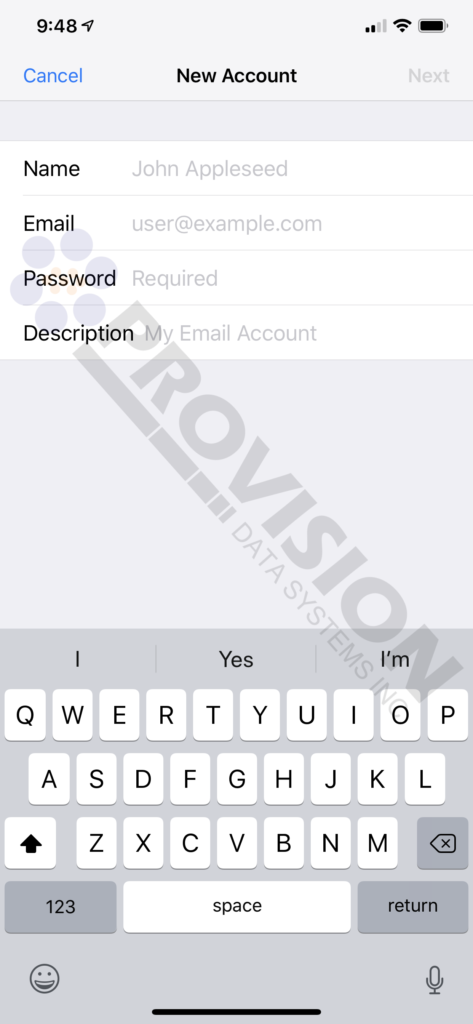
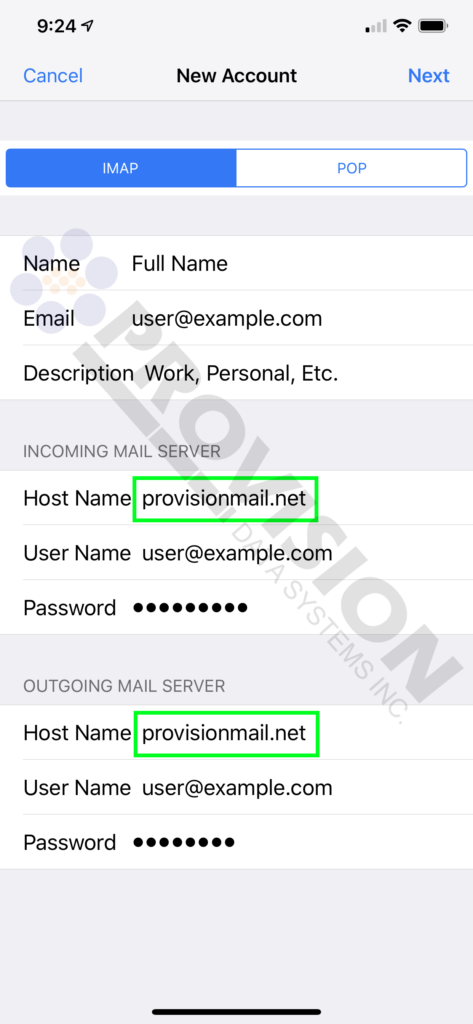
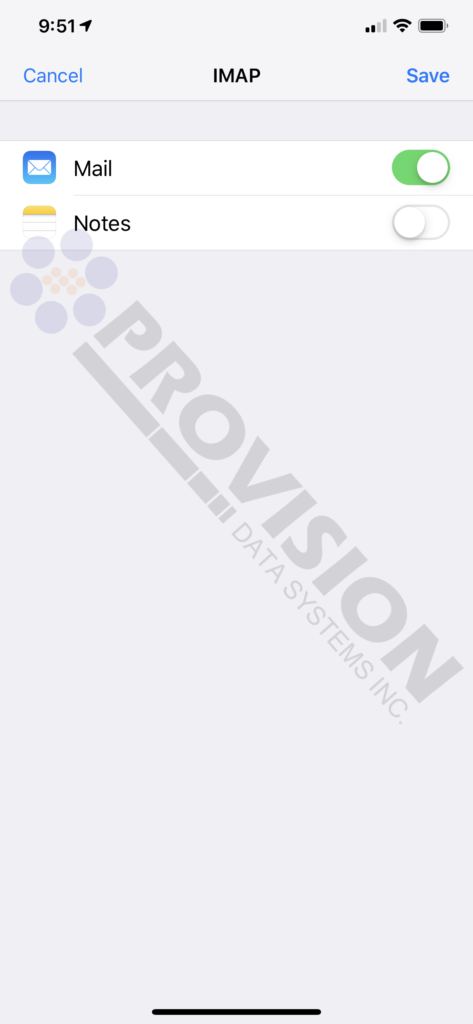
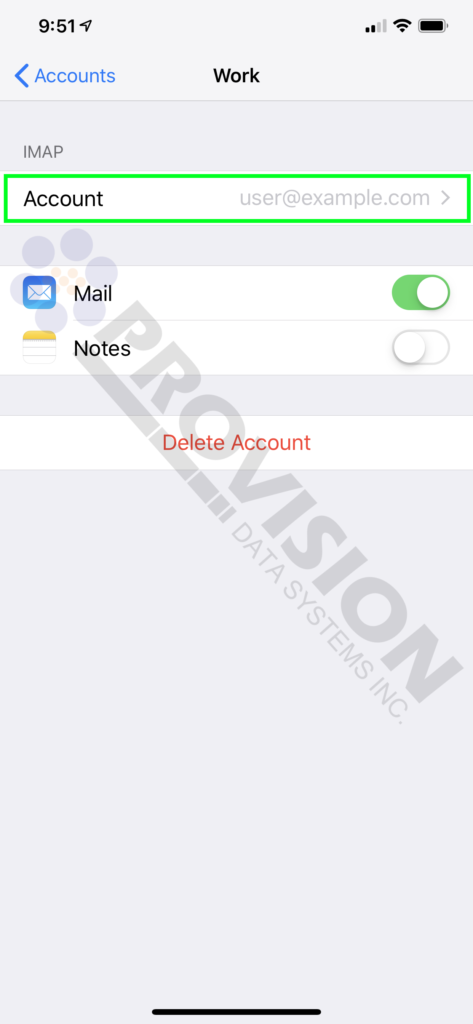
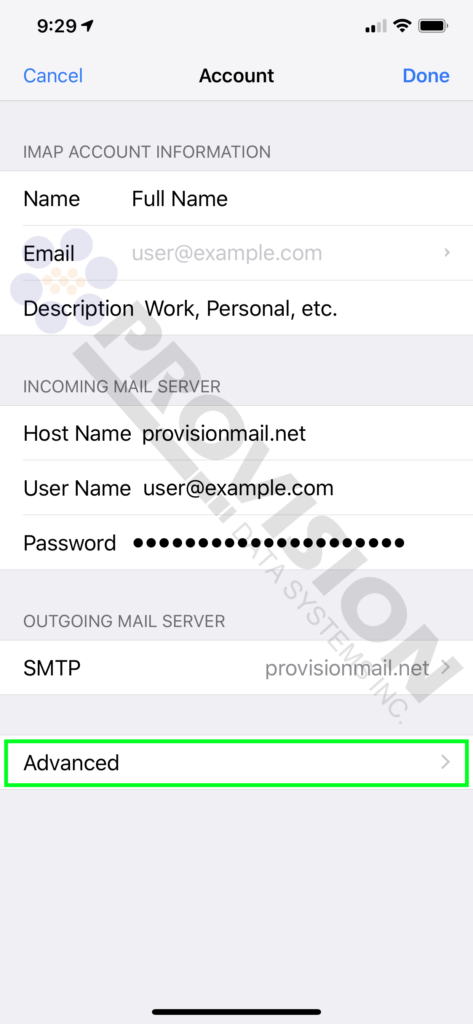
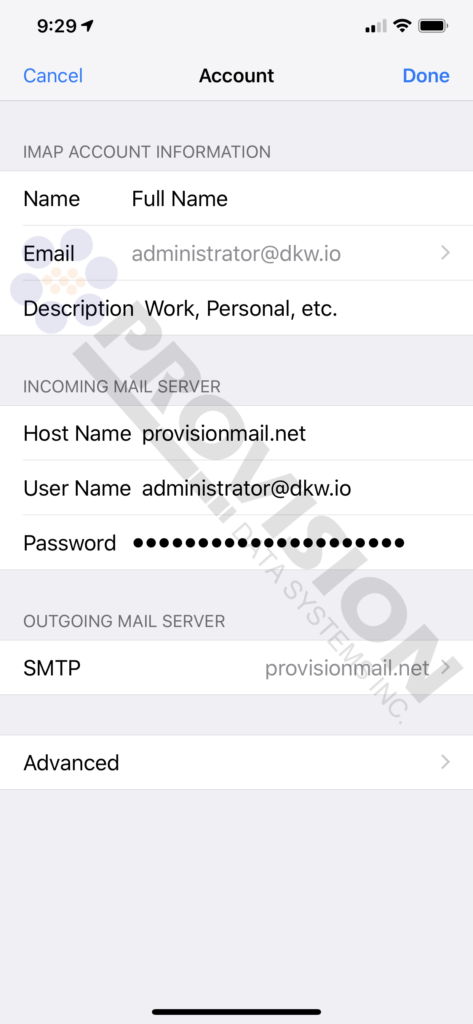
Open your account settings and change the following:
Incoming Mail Server (IMAP)
Server: provisionmail.net
User Name: <your email address>
Password: <your password>
Incoming (IMAP) Port: 143 (or 993 for Secure SSL/TLS)
Outgoing Mail Server (SMTP)
Server: provisionmail.net
User Name: <your email address>
Password: <your password>
Outgoing (SMTP ) Port: 587 (or 465 for Secure SSL/TLS)
*The Outgoing (SMTP) server requires authentication
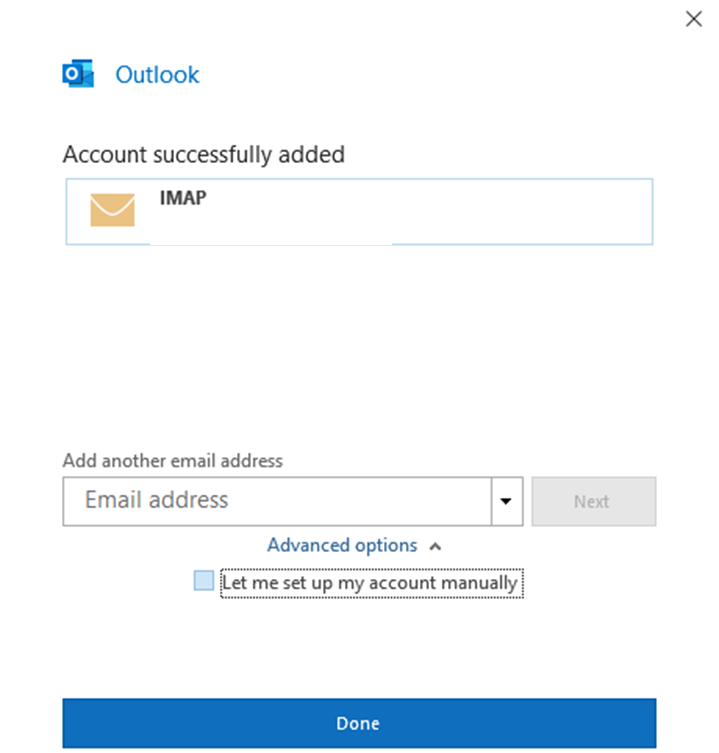
If you have trouble with any of this, please contact us.
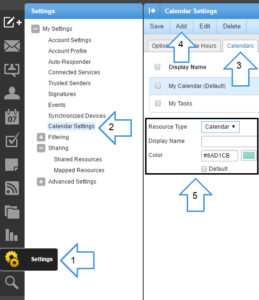 To begin, log in to your email account through the web interface at
 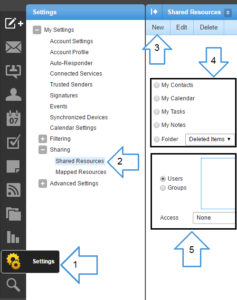 To begin, log in to your email account through the web interface at
 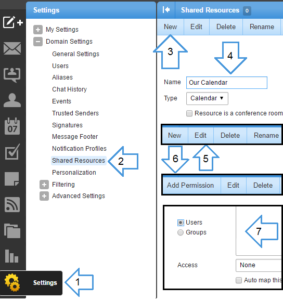 To begin, log in to your domain administration account through the web interface at
 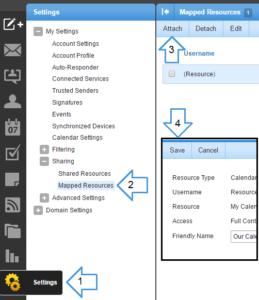 For a user to view a shared resource they must map it to their account. Auto mapping options are also available when setting permissions for a shared resource. To begin, log in to your email account through the web interface at
 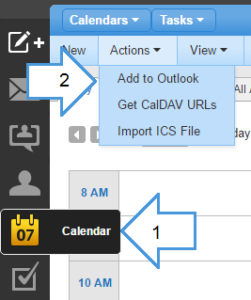 To begin, log in to your email account through the web interface at
 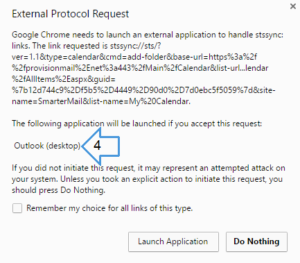 The resource should be available to the Outlook Calendar.